
This is the first in a regular series I hope to keep as active as possible. The Fixer Files will showcase a random repair that was made from beginning to (hopefully) successful end. My intention is that readers learn something about basic diagnosis and repair from someone else’s successes and failures.
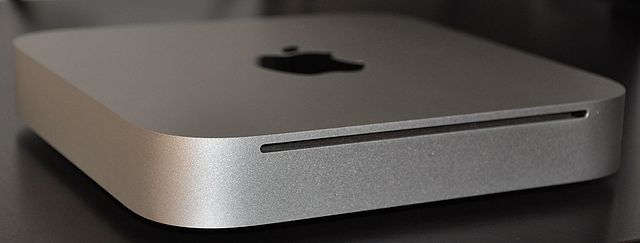
Today’s Fixer Files will focus on the repair and refurbishment of a used Apple Mac Mini computer I purchased on Amazon as a gift for a family member. I found a great deal on a recent model of this computer as it was reportedly having cooling problems, an indicator light on the front didn’t work, and the remote control wouldn’t respond. The owner likely wouldn’t or couldn’t spend the money to have it repaired and so was selling for a great price. My desire to take a chance at troubleshooting and repairing this computer myself paid off well in the end.
Once I received the unit in the mail, the outside looked completely normal (the Mac Mini is a small computer unit designed to replace a larger tower-style desktop unit, saving space and electricity). I connected a keyboard, mouse and monitor; everything seemed to work okay when I started the machine up. Indeed, the status light on the front was dark and immediately the cooling fan ramped up to a noisy full speed even though the unit wasn’t yet even a little warm. This should not happen. The cooling fan uses a bunch of electricity and makes the computer annoyingly loud; it should only increase speed in response to a warming processor chip and/or hard drive.
So the good news is that almost all modern-day computer devices have some sort of built-in diagnostic software. Once you find out how to run this software, (I do it by Googling instructions online) the computer will tell you exactly what’s wrong with it, in most cases. This diagnostic ability also goes for modern cars and appliances in the form of “error codes” and the like. My results with the Mac Mini test software indicated a faulty temperature sensor (explaining the cooling fan problem) but no information about what might be causing the LED indicator light failure or infrared remote control problem.
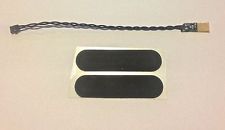
Mac Mini Temp Sensor
Either way, I knew disassembly would be required. Luckily, several other folks had previously taken apart one of these Mac Minis and documented it with photographs and precise instructions online. iFixit.com is the best place on the internet to get this information for free and learn exactly how to take apart and fix almost any computer or appliance. Following their guidance, I carefully opened and removed all the “guts” of the Mac Mini.
Once apart, I located the temperature sensor that had reported failure in the diagnostic analysis earlier. I found a replacement part online for about $15 and put it on order. It required a bit of careful work with some tweezers to replace, but I was able to do it without too much difficulty. That fixed the cooling fan’s improper behavior.
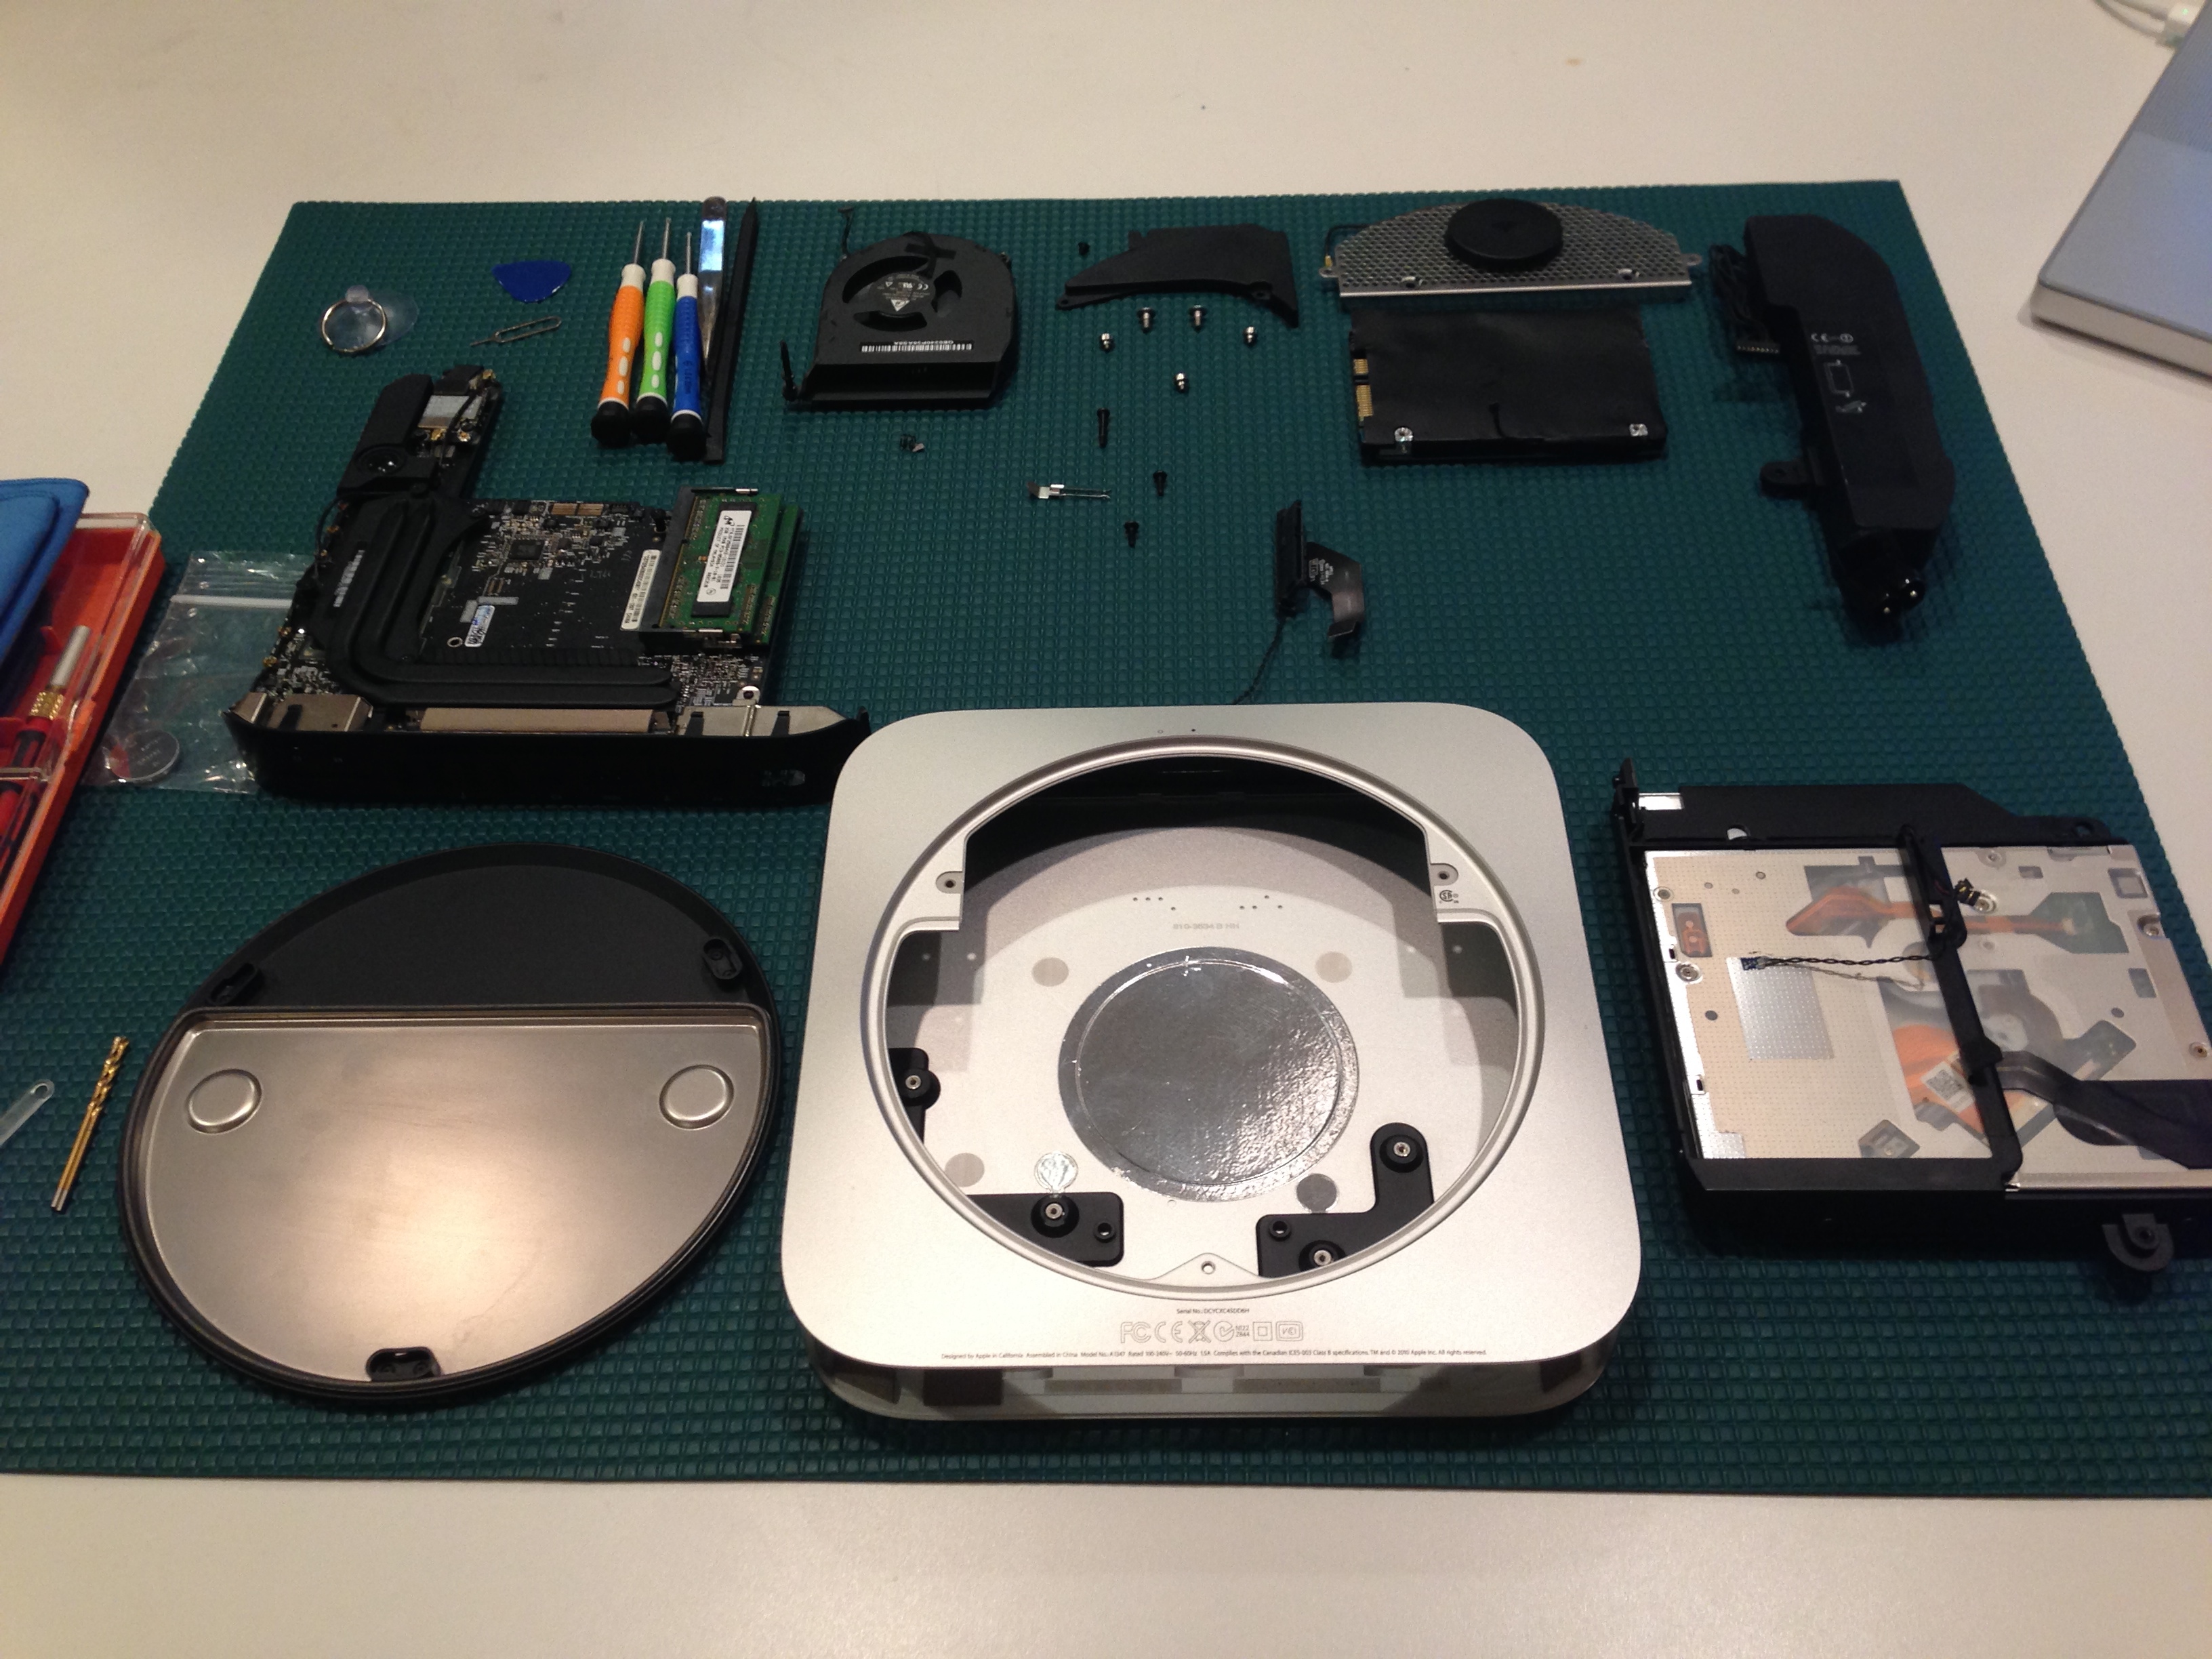
Mac Mini Disassembled
The next big challenge was to determine why the remote control and indicator light weren’t working. Good troubleshooting technique says that we should isolate a problem first so we aren’t wasting time “fixing” something that’s not even broken! Let’s think about this in the form of a simple example: Say one of your car’s headlights stops working… Is it a burnt out bulb? Is it the headlight socket wiring that’s bad? We can’t really tell by just observing one working bulb and one not. The right thing to do is to switch the bulbs from one headlamp to the other. If the problem follows the bulb, then we know for sure that it’s burnt out. Were the dark headlight to stay on its original side after the swap, we would then know it wasn’t the bulb but the socket itself malfunctioning. The point of all this is to ensure we fix what’s actually broken, not what seems broken.
Back to the Mac Mini; I had no idea if the remote control itself was bad or the remote receiver on the computer was the problem. I was able to test the remote control on a different computer and it worked perfectly. This indicated a problem with the computer’s remote sensor, not with the remote itself. This was a simple but important troubleshooting step and I now knew not to waste my time trying to fix a broken remote since that was ruled out as a problem.
During removal of each of the computer’s tiny internal components, I noticed that one of the connector cables was jammed off to the side and not attached to its proper receptacle. It appeared that a previous repair or upgrade attempt had been poorly done and someone had simply forgotten to reconnect all the wires inside the computer. That was it! Being slow and careful reconnecting everything during reassembly, the indicator light and infrared remote control sensor both recovered and worked like a charm.
The end result was an almost like-new computer for an incredible price. The important troubleshooting lesson I learned here was that just because the remote control didn’t seem to work, it wasn’t necessarily the remote itself that was bad. I also learned to harness the computer’s own troubleshooting test capability and target my fixing efforts to the exact problem.
Remember, if you’re working on a repair project like this you can always get advice and fresh ideas from us! Just click on the “ASK A FIXER” link below and tell us about your repair project.